|
|
|
|
|
make |
|
|
|
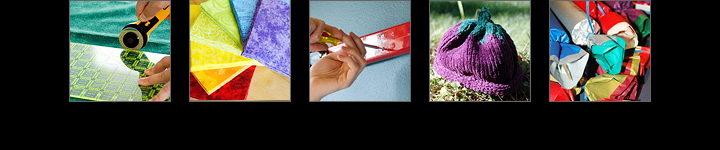
It's a good feeling to be able to make something yourself. I'm far from a DIY expert, but I do enjoy designing and/or making things (an intersection of my engineering background and fascination with textiles). If I can give a handmade gift over a purchased one, I will. Part of the fun is sharing ideas and discoveries with others. |