|
|
|
|
|
candy-filled pumpkins |
back to make |
|
This lovely idea comes from notmartha.org. She has tons of creative and brilliant projects, so definitely check the site out. I didn't use the cool crepe paper she found. Instead, I employed regular orange tissue paper. |
|
|
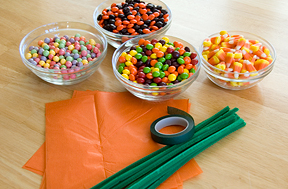
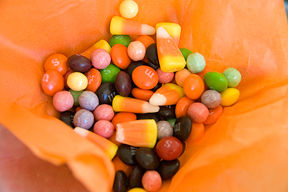
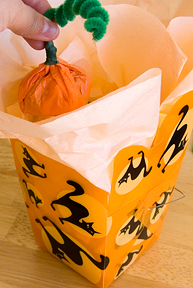
Start with a variety of candies (or toys), squares of orange tissue paper, green pipe cleaners, some florist's tape, and a pencil (not pictured). I doubled my squares since tissue paper is notoriously fragile. Grab a handful of candy and place it in the center of your tissue paper(s). |
|
Depending on the size of your pumpkin, you can use small or large candies for the filling. I tend to like them small just because the parents of the recipients will probably present me with a dental bill if I send the larger ones. If the pumpkin is small, large candies with corners (like the hershey miniatures) might make packaging of the pumpkins difficult. |
|
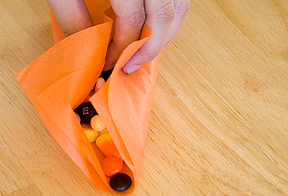
Fold the center of two opposite edges together. |

|
Fold the other centers of the remaining two opposite edges together without spilling candy (this is a good time to determine if you've overstuffed the pumpkin. |
|
Gather the corners into the center like a small purse or pouch. |
|
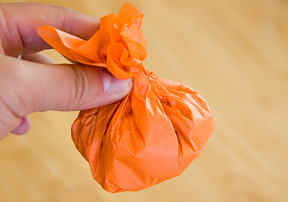
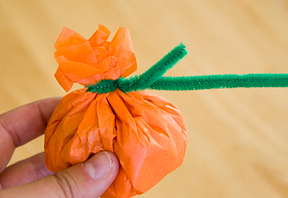
Tie of the neck of the pouch with the end of a pipe cleaner and twist it tight so the pumpkin is secure. |
|
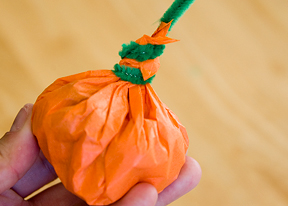
Now twist the pipe cleaner around the top of the pouch. Take care to push the wire end in so no one pricks their finger. |
|
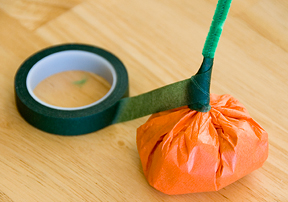
From the base, begin wrapping florist's tape around the stem to completely cover the top. |
|
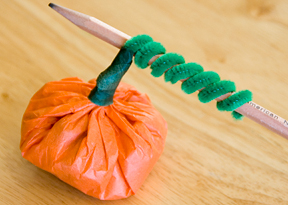
Coil the remaining end of the pipe cleaner around a pencil. Remove the pencil and bend the vine however you like. |

|
Done! |
|
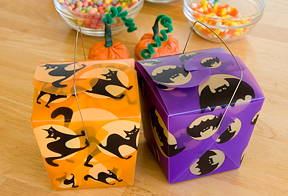
Well, not really. I packaged mine in these cute Halloween take out boxes I found at a crafts store. |
|
Now these two are ready for my niece's and nephew's Halloween package. |
|
|
back to make |
