|
|
|
|
|
ski rack |
back to make |
|
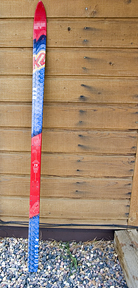
We live in the Rocky Mountains of Colorado. Hence, we ski. Ski technology has changed a lot in the past decade, and I couldn't even give away my old straight edge skis - no one wants them! I hate the idea of throwing away such expensive gear, so I came up with a way to put them to good use. The ski rack is not a rack to hang your skis, but a rack to hang other things from your old ski. |
|
|
First, begin with a ski. Remove any bindings and screws so that it is just the board. High camber cross country or backcountry skis may not work as well. |
|
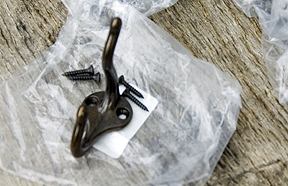
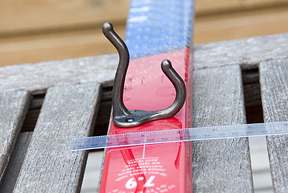
Drop by your local hardware store and select the type and quantity of hook you want on your ski rack. For those who don't like to plan, it actually helps to have a plan. Know the dimensions of your ski so you get the appropriate size hook and the number that can span the length of the ski without crowding what you want to hang off the ski. |
|
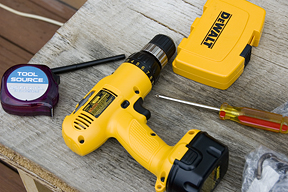
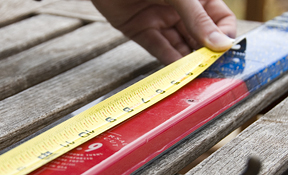
Items that will come in very handy: a tape measure, a pen, a drill, a Phillips head screwdriver, and the knowledge of how to use them. |
|
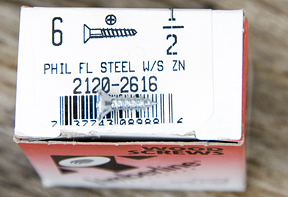
The screws that come with your hooks won't work on your ski. The ski is too thin for such long screws. We grabbed a box of short steel woodscrews. Just be sure the hole you drill isn't so small that the screw is sheared off in the ski (this happened to us - luckily, our ski was upside down anyway, so we could do it right when it was right-side-up). |
|
Although my old ski was fairly straight, there was still flare away from the center. Just decide if you want your hooks to be in a straight line or not. If so, measure the center line on the ski and follow that for your offsets on where to put the hook. The hooks will lower in relation to the ski edge as you travel away from center, but it will be straight on the wall, assuming the ski is level. |
|
We placed 7 hooks 8 inches apart on this ski. Two of the hooks would be attached over the mounting holes (you know, where you will screw the ski to the wall - hopefully to a stud). Everything was first measured out. |
|
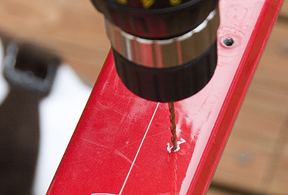
Next we mark where the drill holes will go. |
|
Then we drill the holes (if your ski had bindings, there are already several holes - hopefully you don't care). So we drilled the holes for those hooks, but attached the hooks after the ski was secured to the wall. You will need long wood screws for your anchors to the wall and drill the appropriate size holes for those in your ski as well. It helps to find the studs first and determine where you want the anchors to be on your ski. |
|
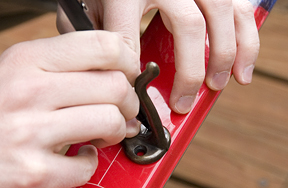
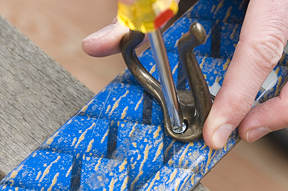
Attach the hooks to the ski with the short wood screws. |
|
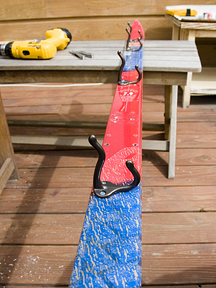
All hooks are ready except for the two that will cover the anchors. |
|
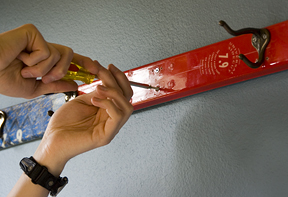
Screw the ski to the wall with the long wood screws. All skis have some amount of camber - as long as you are anchored to a stud, you should be able to tighten the screw and flatten the ski. This is why I don't recommend cross country skis. |
|
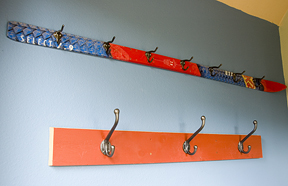
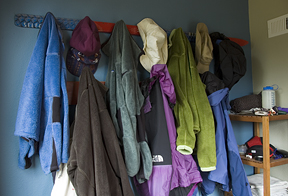
Secure the last two hooks and you are done! We wanted this extra rack over our mudroom coat rack so we could hang hats and more jackets. |
|
Increased capacity for more outdoor fun. Nifty. |
|
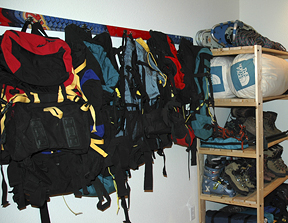
The other ski was turned into a rack for our backpacks. We used five double hooks (looks like a W) for the pack rack. |
|
|
back to make |
